Connecting VS Code to remote Codewind
Complete the prerequisites.
Objectives
In this topic you will:
- Connect Codewind on VS Code to the remote instance of Codewind in the cloud.
- Add an image registry.
1. Connect your IDE’s Codewind extension to your remote instance of Codewind.
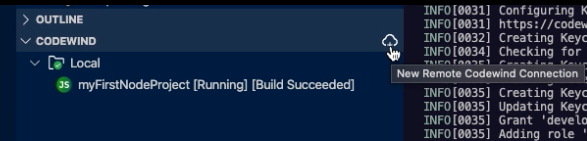
1. Locate the Codewind view in VS Code and click the cloud icon to start the new connection wizard:
2. Add a connection name and press Enter.

3. Complete the three required fields: Gatekeeper URL, username, and password. Then, click Save.
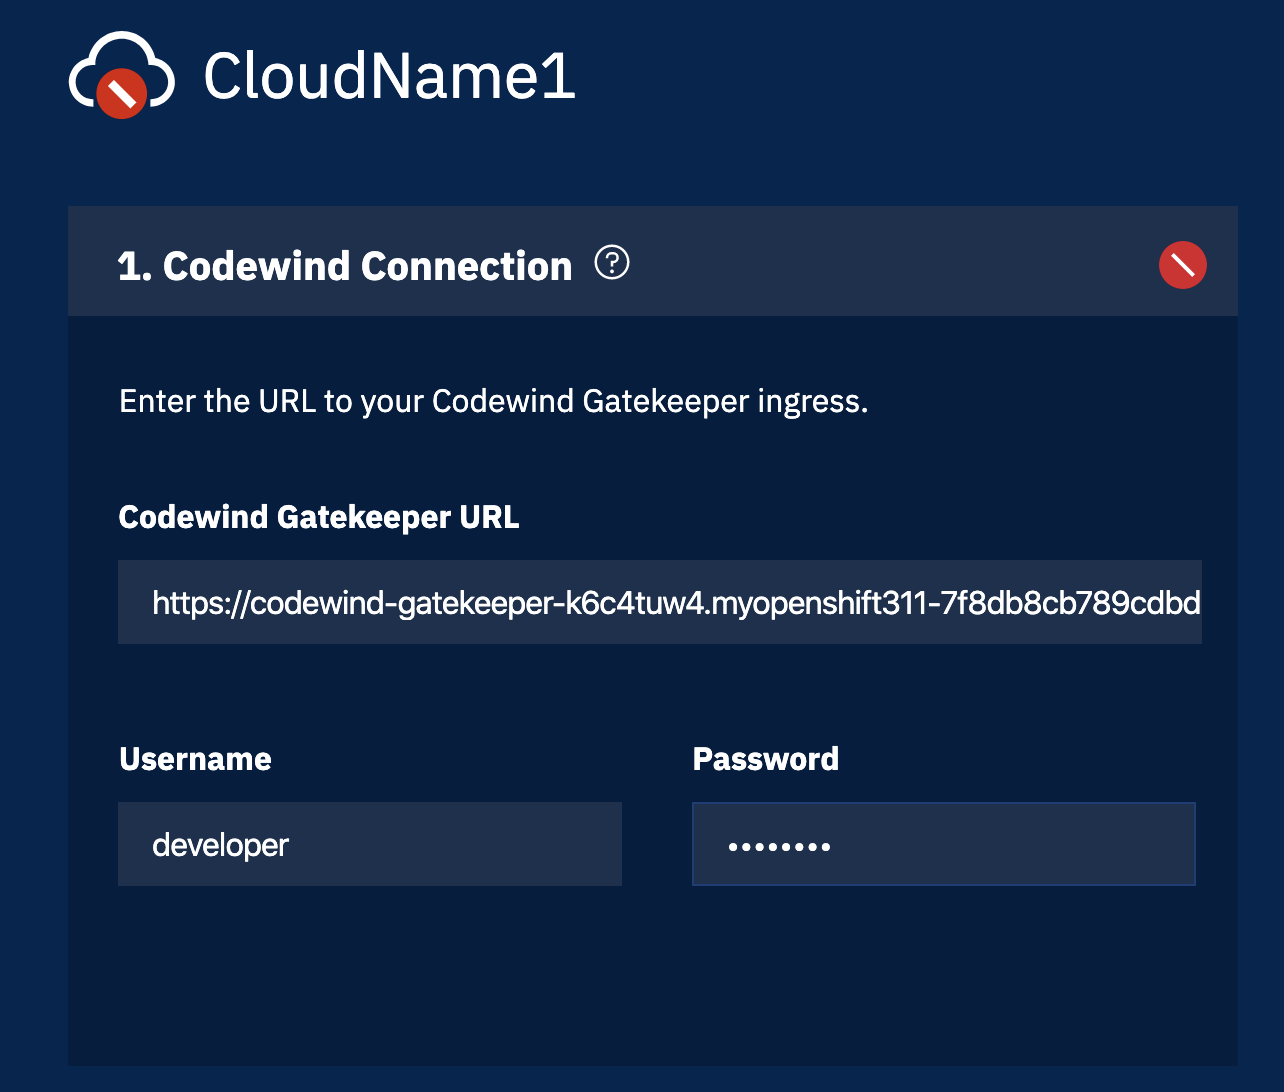
If you do not know these values, ask your system administrator or see Deploying Codewind remotely.
The IDE validates the connection and adds it to the Codewind pane:
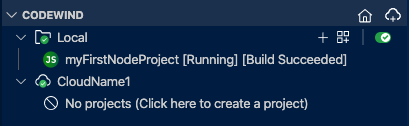
The IDE and Codewind are connected.
2. Add an image registry.
Before Codewind style projects can be deployed on Kubernetes, specify an image push registry. For more information about registries, see Codewind container registry guidance. This example uses Docker Hub:
1. If it’s not already open, go to the connection details page with the link:
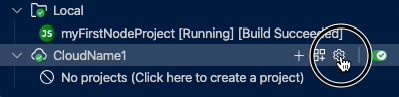
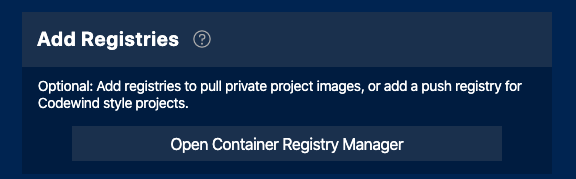
2. Locate and click Open Container Registry Manager:
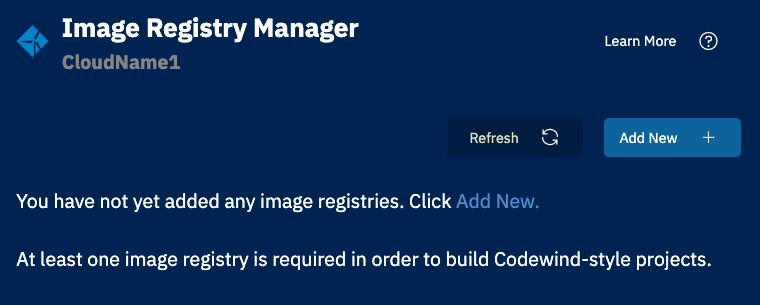
3. In the image registry screen, click + Add New:
4. Complete the container registry connection details. For example, if you are using Docker Hub, enter docker.io and press Enter:

Enter:
- Your container registry username.
- Your container registry password.
- Your container registry namespace, which is usually the same as your username.
The connection is tested to validate your credentials and stored in a Kubernetes secret within the Codewind service.
Next Steps
You have now finished configuring Codewind to be used remotely.
In the next topic, you will learn how to use Codewind remotely to create and import projects.